You might be thinking pencil skirt is not challenging enough. Well, I am going to present 2 pencil skirts. One is just a regular pencil skirt for beginners, the other one is a little bit challenging.

This next one is made with lace fabric and cotton lining. When it comes to lining, it is like sewing two skirts together.
Here is the pattern for both skirts.

This pattern is for all sizes. The measurement between waist to hip for size 4 is about 17 cm, 17.5 cm for size 8, 18 for size 12. It could vary from person to person. Measuring yourself is a safe bet.
I am going to give you a tutorial on making the lacy one. If you want to make the simple one, you can still follow along. The steps are the same.
1. Sew the darts in the fronts and backs, which includes the lace fabric and lining.

2. Sew the zipper. I would use invisible zipper. It simply looks better for this project. I am not going to show you how to sew the zipper. The instruction on the package is pretty good.

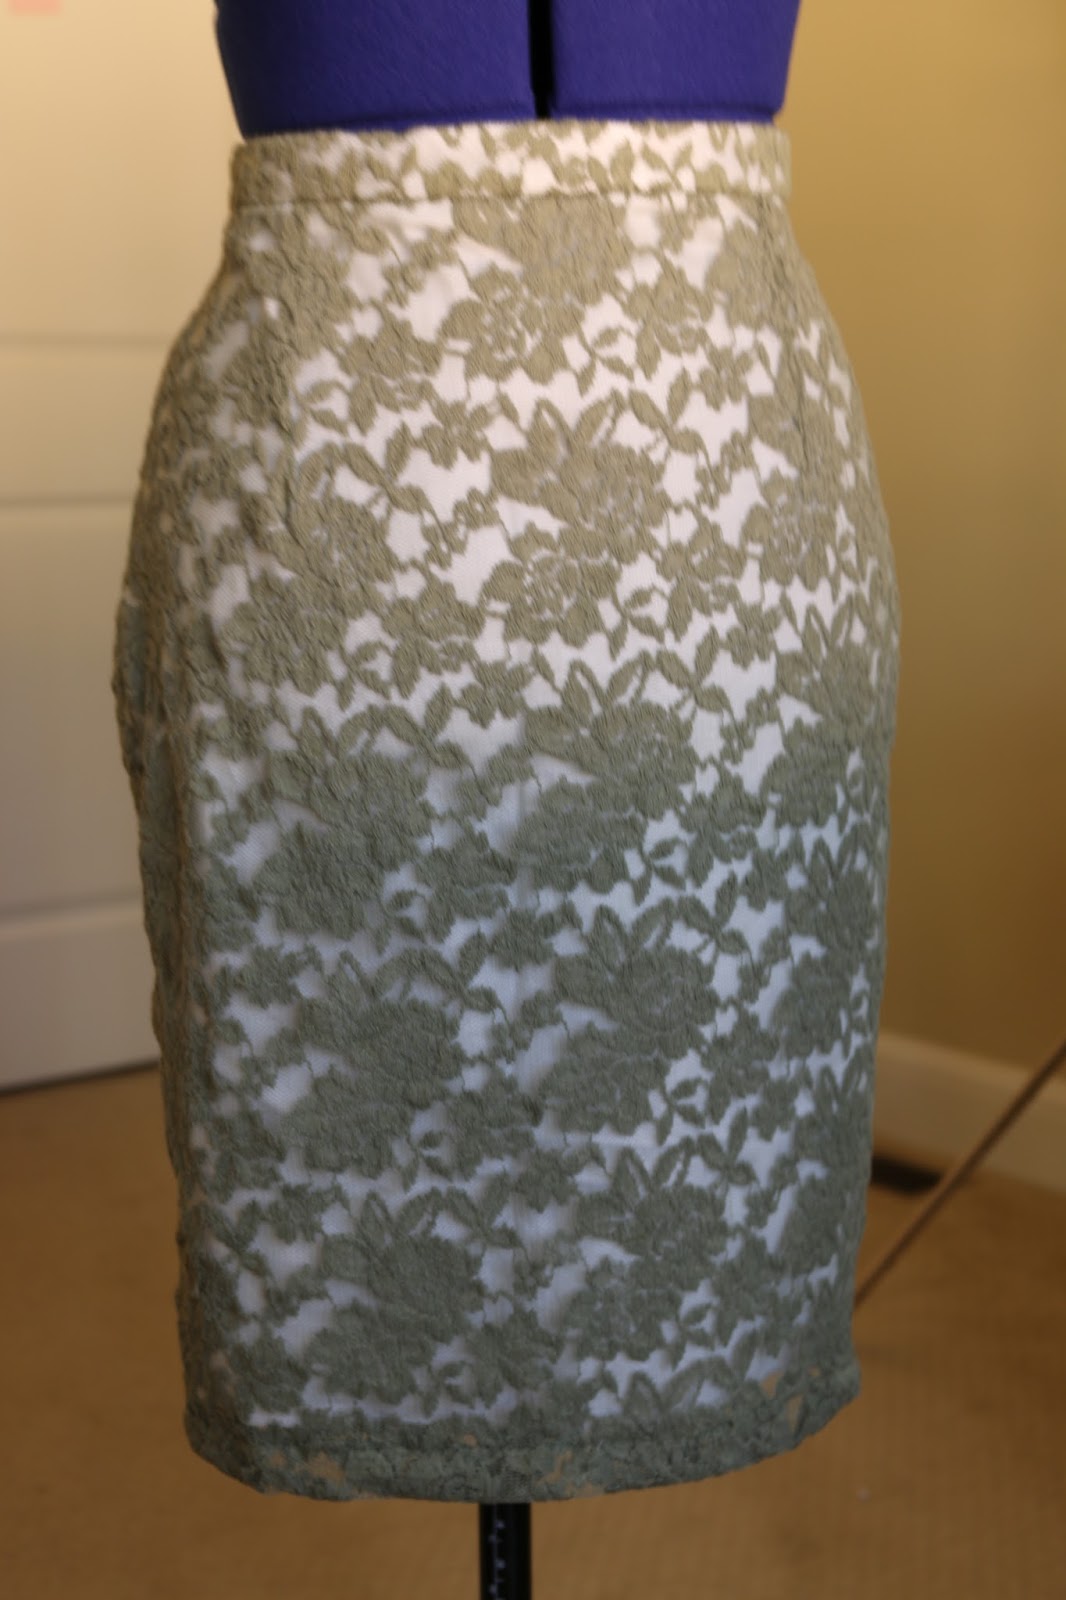
You have to sew all three layers together. It will look like this from outside.

3. Sew down the rest of the seam after the zipper but stop at the split.

4. Sew together the front and back piece. You will need to sew all four layers.

It is important to pin wherever you need to sew. This will reduce picking. It should look like this.

5, Now, it is looking more like a skirt. In this step you will add belt. I used the material of my lining to baste the belt instead of interfacing. If you choose to use interfacing, make sure you have the clothes kind. In order for my lining to stick to the lace, I used the spray bond. It works great.


6. The last step is to hem your skirt. Just need to make sure it lines up at the split.
That's it.
Happy Sewing


